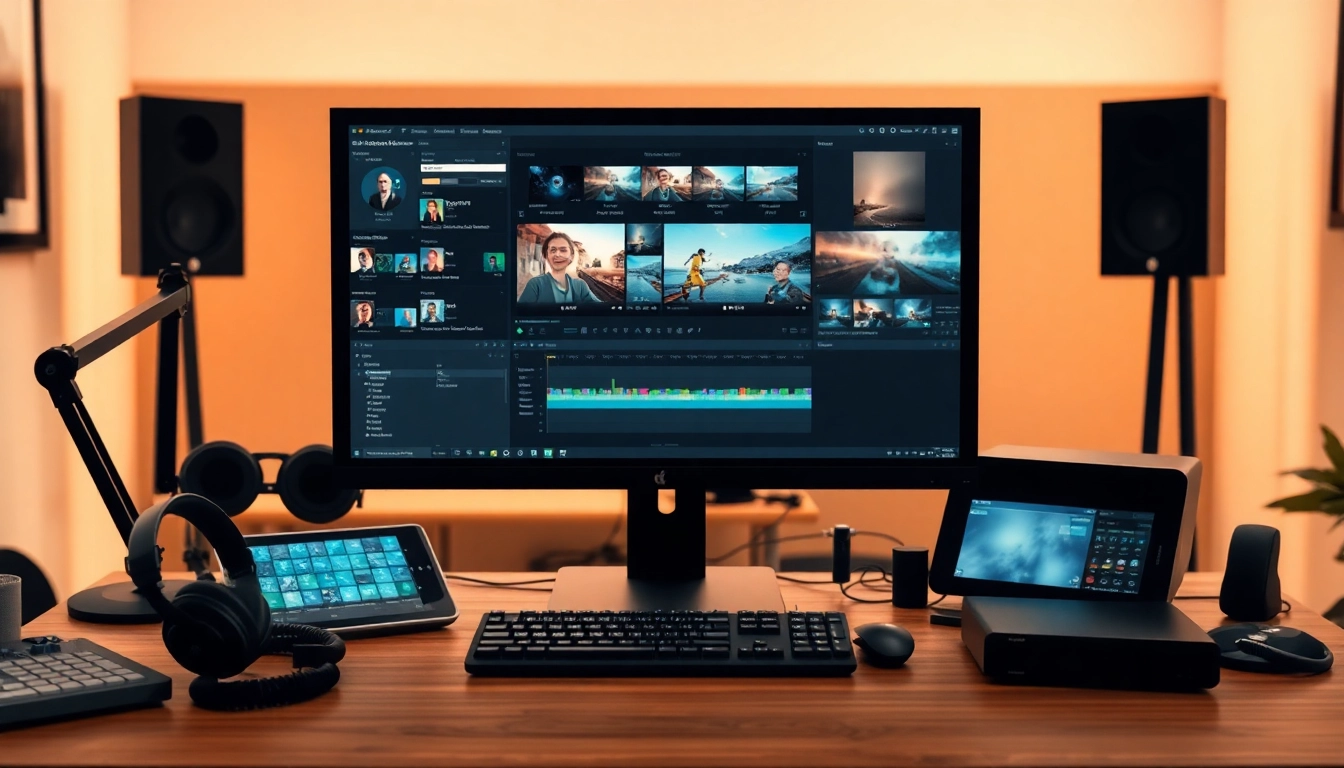
The Essentials of Editing & Post-Production
Editing & Post-Production are integral components of the video production process, serving as the bridge between raw footage and a polished final product. The editing phase primarily focuses on structuring and arranging the captured footage, while post-production encompasses additional tasks such as audio enhancement, color grading, and visual effects. These processes can transform a simple video into a compelling story that resonates with audiences. For details on mastering these processes, you can explore Editing & Post-Production.
Understanding the Phases of Editing & Post-Production
The journey of a video begins long before the cameras start rolling and continues well after filming concludes. The Editing & Post-Production stages can typically be divided into several key phases:
- Preparation: Before delving into editing, it’s crucial to prepare all the footage properly. This includes organizing files, labeling clips, and ensuring you have all the necessary elements to begin editing.
- Editing: This phase involves cutting the raw footage and arranging clips to create a coherent narrative. It’s where the story starts to take shape, requiring attention to pacing, transitions, and overall flow.
- Post-Production: After editing, the project moves into post-production, which covers sound design, color correction, and adding visual effects. This step enhances the visual and auditory aspects of the video.
- Final Review: The last phase involves a review process, where the project is evaluated for any potential last-minute changes or fixes before the final export.
Key Tools and Software for Successful Editing
The choice of software can significantly affect the quality of your Editing & Post-Production workflow. Here are some industry-standard tools to consider:
- Adobe Premiere Pro: Widely used for its robust features and plugins, Premiere Pro offers extensive tools for both video and audio editing.
- Final Cut Pro: Exclusive to macOS, this software is recognized for its user-friendly interface and powerful capabilities for video editing.
- Avid Media Composer: Known for its strength in handling complex projects, it’s often used in professional film and television environments.
- DaVinci Resolve: Renowned for its color correction tools, it integrates editing and post-production into one seamless workflow.
- After Effects: Ideal for creating intricate visual effects and animations that can elevate the production quality of your video.
Common Challenges and How to Overcome Them
Every editor faces unique challenges, and understanding these can help streamline the process. Some of the most common issues include:
- Time Management: Editing can be a time-consuming process. Establishing a timeline with clear deadlines for each phase can help keep the project on track.
- Creative Blocks: It’s natural to experience creative blocks. Taking breaks, seeking inspiration from other works, or collaborating with others can often reignite creativity.
- Technical Issues: Software crashes or compatibility problems can arise unexpectedly. Regular saving, backups, and maintaining updated software can minimize these disruptions.
- Maintaining a Vision: While editing, it can be easy to lose sight of the original vision. Regularly revisiting the project goals and target audience will help stay aligned with the intended narrative.
Steps to a Smooth Editing Workflow
Pre-Editing Preparations and Organization
Success in editing begins long before the editing software opens. Correct preparation forms the backbone of a smooth workflow. Here are the essential steps:
- Gathering Assets: Collect all video, audio, and auxiliary files (like graphics or annotations) in one location. This organization habit will streamline the editing process.
- File Naming Convention: Establish a consistent file naming system, categorizing clips by content or scenes. This practice will save time when searching for specific clips.
- Setting Up Project Files: Create a project in your editing software, setting preferences such as frame rate, resolution, and audio settings according to your project specifications.
- Importing Footage: Import all media into the editing software, ensuring everything is correctly ingested for easy access.
Creating a Rough Cut: Best Practices
Once preparation is complete, moving into the editing phase calls for a strategic approach to create a rough cut:
- Start with the Story: Focus on arranging the footage based on the narrative structure. Identify key moments that drive the story and highlight them in the rough cut.
- Utilize Markers: Use markers to label significant points in the edit, such as transitions, effects, or areas needing further attention during refinement.
- Pacing and Rhythm: Pay close attention to the pacing of the narrative. Look for places to enhance or slow down, making careful decisions about cuts and transitions.
- Seek Feedback: Once a rough cut is established, sharing it for feedback can uncover perspectives and improvements that may not have been initially considered.
Finalizing Edits with Feedback and Revisions
The final review and revisions are crucial stages in the editing process. Here are the best practices to ensure a polished product:
- Implement Critiques: Analyze all feedback critically, deciding which inputs align with the overall vision. Adjustments should enhance, not detract from, the narrative.
- Quality Control: Conduct thorough reviews of the timeline to catch any inconsistencies, errors, or overlooked details before the final export.
- Export Settings: Choose appropriate export settings based on the distribution platform, ensuring optimal quality and compatibility.
Color Correction and Visual Effects
The Importance of Color Grading in Editing & Post-Production
Color grading is more than just correcting colors; it shapes the mood and enhances the storytelling of your video. Here’s why color grading is essential:
- Visual Consistency: Maintaining consistent colors and tones across shots is key in helping the audience stay immersed in the story.
- Professional Aesthetic: Well-graded footage presents a high-quality appearance, contributing to a more polished final product.
- Evoking Emotion: Colors can elicit emotional responses from viewers. Utilizing color palettes strategically can bolster the narrative and engage the audience emotionally.
Add Depth with Visual Effects Techniques
Visual effects (VFX) can elevate your video by adding layers of depth and creativity. Here are some techniques to consider:
- Compositing: Combining multiple images or clips to create a single cohesive scene is a powerful way to enhance storytelling and produce intriguing visuals.
- Motion Graphics: Incorporating graphics or animations can simplify complex information, making key points more digestible for viewers.
- 3D Elements: Adding three-dimensional objects or backgrounds can give depth and realism to your footage, drawing viewers into the scene.
Tools for Color Correction and VFX Mastery
To effectively handle color correction and visual effects, having the right tools is crucial. Here are some software options:
- Adobe After Effects: Ideal for VFX, this powerful tool allows for advanced compositing and animation.
- DaVinci Resolve: Known for its color grading capabilities, it provides robust tools tailored for editing and visual effects.
- Fusion: Another tool within DaVinci, Fusion specializes in node-based compositing, offering flexible options for 2D and 3D animations.
Sound Design and Audio Enhancement
Incorporating Soundtracks and Effects in Editing
Sound is equally important as visuals; audio should complement the storytelling process. Here’s how to effectively incorporate sound:
- Select Appropriate Audio: Choose soundtracks that match the tone of your video, enhancing emotional impact and engagement.
- Layering Sounds: Utilizing multiple layers of sound effects can create a more immersive experience, simulating real-life environments.
- Foley Effects: Creating and adding specific sounds (like footsteps or doors closing) can significantly enhance the realism of your video.
Mixing Techniques for Professional Sound Quality
Achieving a professional sound involves effective mixing. Here are essential tips:
- Balancing Levels: Ensure no single audio element overpowers the others. Use meters to visually assess levels throughout the mix.
- Equalization: Employ EQ to enhance the clarity of voices and sounds, minimizing unwanted frequencies that could distract or muddy the audio.
- Dynamic Control: Use compressors to even out audio levels, making soft sounds more audible while containing loud peaks.
Common Audio Issues and Solutions
Audio problems can derail a project, but many can be overcome with the right knowledge. Some common issues and their solutions include:
- Background Noise: Use noise reduction tools to minimize ambient sounds or unwanted noise layers. High-pass filters can also help if you’re dealing with low-frequency hums.
- Audio Sync Issues: If audio doesn’t match the video, check the frame rate and playback speed settings. Tools in your editing suite can realign audio clips as needed.
- Distorted Audio: Prevent distortion caused by over-amping incoming sound by recording at the correct levels, ideally between -12dB and -6dB.
Evaluating Your Editing & Post-Production Work
Metrics for Assessing Video Success
Metrics are essential to gauge the impact of your video. Key performance indicators to consider include:
- Viewer Engagement: Monitor viewer retention rates, analyzing where audiences drop off or stay engaged throughout the video.
- Playback Count: Understanding how often your video is watched can provide insights into audience interest and reach.
- Feedback and Comments: Analyzing audience comments and reactions can help identify strengths and areas for improvement.
Gathering Viewer Feedback for Continuous Improvement
Feedback is vital for refining your skills. Consider implementing these strategies:
- Surveys and Polls: Directly solicit viewer opinions through surveys or social media polls to gather actionable insights.
- Focus Groups: Assemble a small group of viewers to watch your video and provide in-depth feedback on various aspects.
- Test Screenings: Organize screenings with chosen audiences to obtain unfiltered reactions and suggestions.
Trends to Watch in Editing & Post-Production
Staying updated with trends can keep your work relevant. Some emerging trends include:
- Vertical Video Formats: With the rise of mobile viewing, vertical video is becoming more accepted and offers new creative opportunities.
- AI in Editing: AI tools are increasingly being used for editing tasks, from automating mundane jobs to enhancing creative options.
- Real-time Collaboration: With cloud-based tools, remote collaboration is more feasible, allowing teams to work together seamlessly regardless of location.